Quick Answer
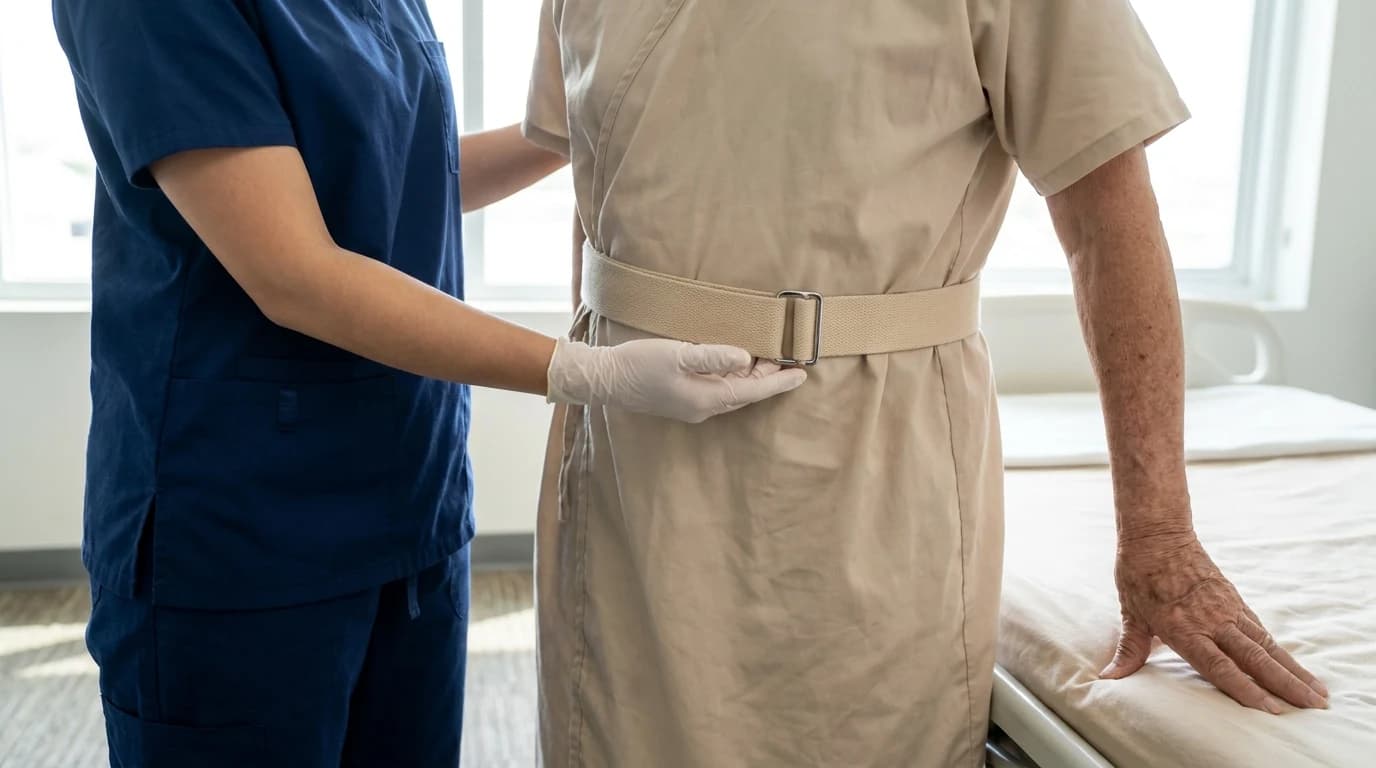
Use a gait belt only after the clinical team has approved the transfer method and placement. A trained caregiver fits and fastens the specific belt, checks comfort and demonstrates the approved underhand grip. It provides a handhold for steadying movement; it does not lift someone who needs lifting equipment.
Key takeaways
- A stronger belt or extra handles do not make a manual lift appropriate.
- A 60-inch belt length and a 60-inch maximum waist fit are different measurements.
- Buckle instructions and cleaning methods belong to the exact model, not the whole category.
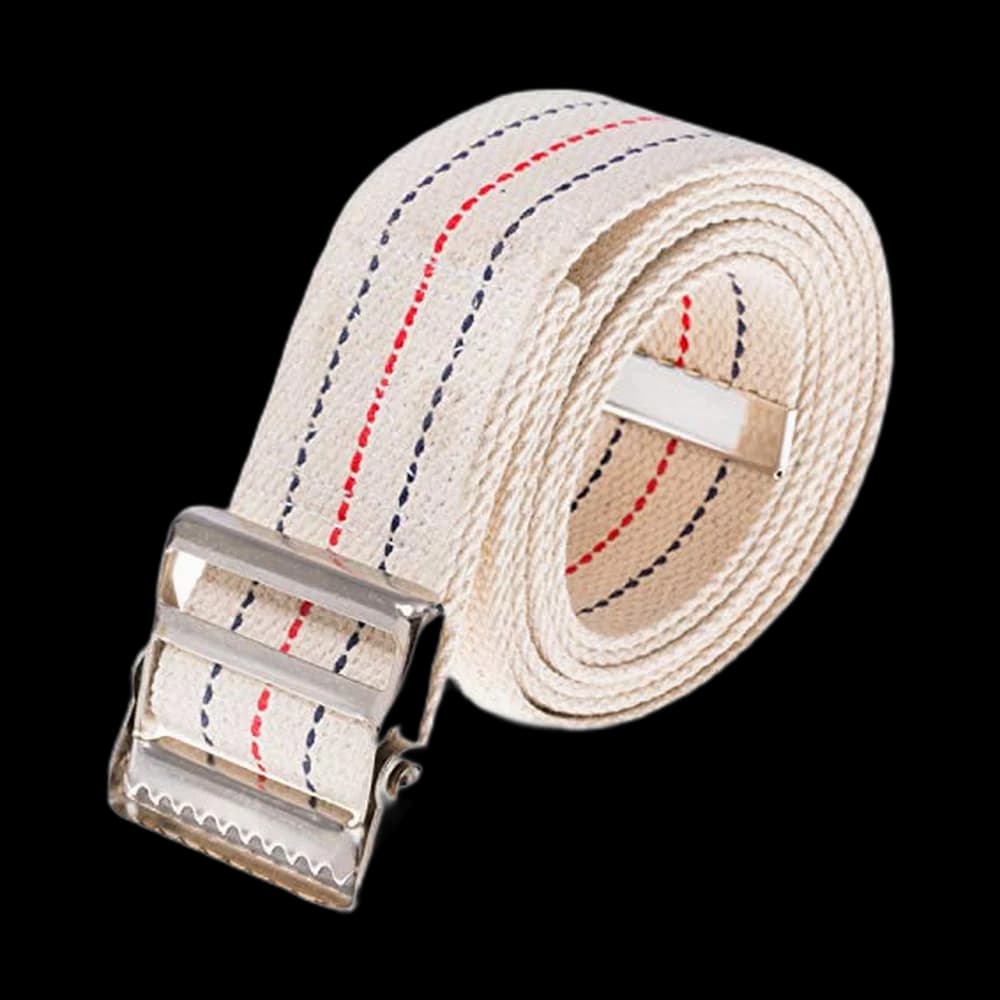
COW&COW Transfer and Gait Belt with Metal Buckle
- Metal buckle, the type CNA programs usually specify
- 2 inch cotton webbing the listing describes as comfortable for the person being transferred
- Machine washable, hang to dry
Start here only if your course specifies a traditional cotton belt with a metal buckle. The linked variant is 60 inches long; confirm the required size and instructions before patient use.
Side-by-side comparison
#1COW&COW Metal Buckle Gait Belt Owner rating4.8(11,744) | #2NYOrtho Metal Buckle Gait Belt Owner rating4.6(874) | #3Vive Gait Belt with Handles Owner rating4.5(10,596) | #4Vive Waterproof Gait Belt Owner rating4.1(188) | |
|---|---|---|---|---|
|  |  |  | |
| NurseComforts Score | ||||
| Verdict | Plain cotton belt for a course that specifies a traditional metal buckle. | Traditional cotton option with a manufacturer-stated latex-free claim. | Handled belt for a care plan that specifies handles; check the 51-inch fit ceiling. | Smooth TPU option when the approved cleaning workflow calls for a wipe-clean surface. |
| Price | ~$7.90Buy on Amazon Price checked Oct 10 | ~$9.99Buy on Amazon Price checked Oct 10 | ~$16.99Buy on Amazon Price checked Oct 10 | ~$14.97Buy on Amazon Price checked Oct 10 |
| Buyer sentiment | Effectiveness Stability Basic Secure Fit Buyers praise effectiveness, stability, basic and secure fit. Mixed feedback on length. Based on 932 user mentions | Durability Utility Basic Color Stiffness Buyers praise durability, utility, basic and color. Mixed feedback on buckle and belt functionality. Some flag stiffness. Based on 122 user mentions | Quality Ease Of Use Handles Sturdiness Buyers praise quality, ease of use, handles and sturdiness. Mixed feedback on secure fit. Based on 3,113 user mentions | Functionality Ease Of Cleaning Fit Durability Buyers praise functionality and ease of cleaning. Mixed feedback on quality. Some flag fit and durability. Based on 53 user mentions |
| Pros |
|
|
|
|
| Cons |
|
|
|
|
* Prices are approximate. Click Buy to see current pricing on Amazon.
Before a patient transfer: This is education for students and caregivers, not a patient-specific transfer plan. Have your instructor or clinical team demonstrate the approved technique with the actual belt and equipment.
First decide whether a gait belt belongs in the plan
OSHA's nursing-home guidance describes transfer belts for cooperative residents with some weight-bearing ability and says they should not be used to lift residents. The same guidance identifies powered equipment for people who are totally dependent or have other physical limitations. Buying a stronger belt does not change that distinction.
| Before movement | What needs deciding |
|---|---|
| Ability to participate | Can the person cooperate and bear the weight required by this transfer? |
| Assistance and equipment | Which aid, how many trained helpers and what setup does the current plan specify? |
| Placement concerns | Could the belt press on an incision, injury, tube or device? |
These are prompts for the responsible clinician, not a home assessment checklist. American Nurse's gait-belt guidance emphasizes assessing cognition, strength, balance and endurance before mobilization, then communicating assistance, equipment and placement to the care team.
OSHA cautions that belts may be unsuitable after recent abdominal or back surgery, or with an abdominal aneurysm. American Nurse identifies serious chest trauma among contraindications. Do not solve these concerns by moving the belt somewhere else yourself; ask the clinical team which aid and placement are appropriate.
Equipment rating ≠ lifting permission: A belt advertised for 300 or 350 pounds is not permission for a caregiver to lift that much, or a substitute for the assessed transfer method.
Applying a gait belt: what to rehearse in training
For a standard metal-buckle belt, the useful sequence is explain, position, fasten, check, secure the tail and demonstrate the grip. The Iowa Department of Education's school-nurse procedure lays out that sequence for school staff. Its learner-specific delegation context matters; it is not an adult bedside protocol.
- Explain and prepare. Identify the approved belt and follow the hand-hygiene steps for your setting.
- Position it as instructed. Iowa describes the waist at the top of the hips. Confirm placement with your instructor rather than assuming every person can use that position.
- Thread the actual buckle. Iowa describes passing the metal tip through, over the teeth and through the buckle. A quick-release latch needs its own instructions.
- Check fit and comfort. Ask the person about comfort and observe their response. American Nurse describes a snug fit that still permits fingers underneath for support; loose slack is not the goal.
- Secure excess webbing. Iowa tucks the remaining tail; some belts provide an elastic keeper.
- Demonstrate the grip before movement. Iowa describes fingers pointing upward underneath the belt from behind; American Nurse also recommends an underhand grip. Rehearse the position your instructor specifies.
Do not memorize the tag direction: Iowa's school procedure says the tag faces the student. The NYOrtho listing says its tag faces outward and its buckle is centered. Use the instructions supplied with your belt, not a universal rule borrowed from another model.
Over-clothing placement is specified in DeRoyal's gait-belt instructions. That document also has its own buckle-position and fit directions. It illustrates why even familiar-looking belts deserve a fresh instruction check. It is not the instruction sheet for the four belts compared here.
Steadying is different from pulling someone upright
American Nurse explicitly warns against pulling someone up by the gait belt. It describes the belt as a means of steadying movement. A good underhand grip cannot make an inappropriate manual lift appropriate, and handles do not turn the belt into a hoist.
Thomas Waters's 2007 NIOSH-authored analysis discusses a recommended 35-pound maximum for a limited set of cooperative, predictable patient-handling tasks; less favorable conditions reduce the limit. This is the load being handled, not the patient's body weight, and not a universal safe allowance. Do not use it to approve a transfer. Follow the assessed plan and required lifting equipment.
- Ask for the approved response to dizziness, weakness or a change in participation.
- Learn your setting's response to a fall through supervised training.
- Confirm when the belt is removed and how the transfer is documented.
A web article cannot safely supply those decisions for a particular person.
Which belt features actually matter?
The product details below come from the exact retailer listings we checked. We researched these belts; we did not perform patient transfers with them. All four use metal buckles, so none is a plastic-buckle recommendation.
| Feature | When it matters | Catalog option |
|---|---|---|
| Plain cotton, no handles | Your course specifies a traditional practice belt | COW&COW or NYOrtho |
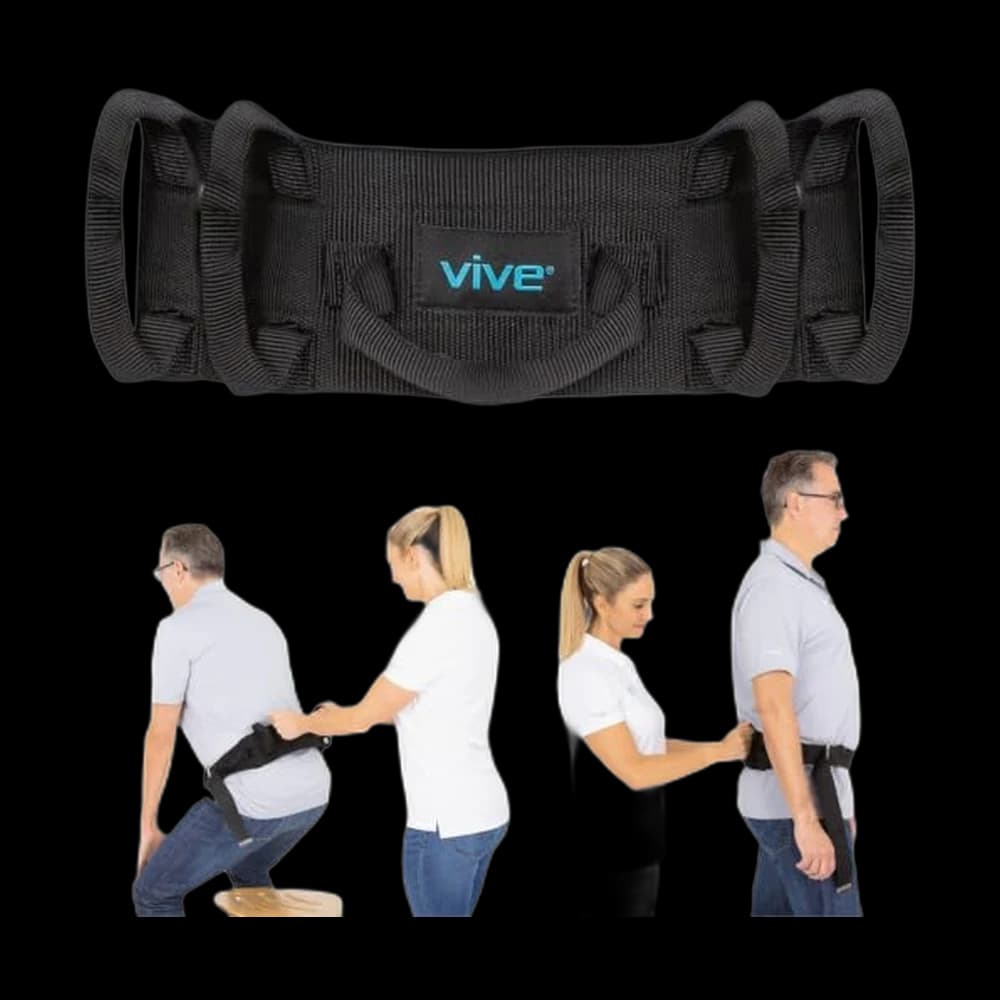
| Padded handles | The care team specifies a handled transfer belt | Vive Gait Belt with Handles |
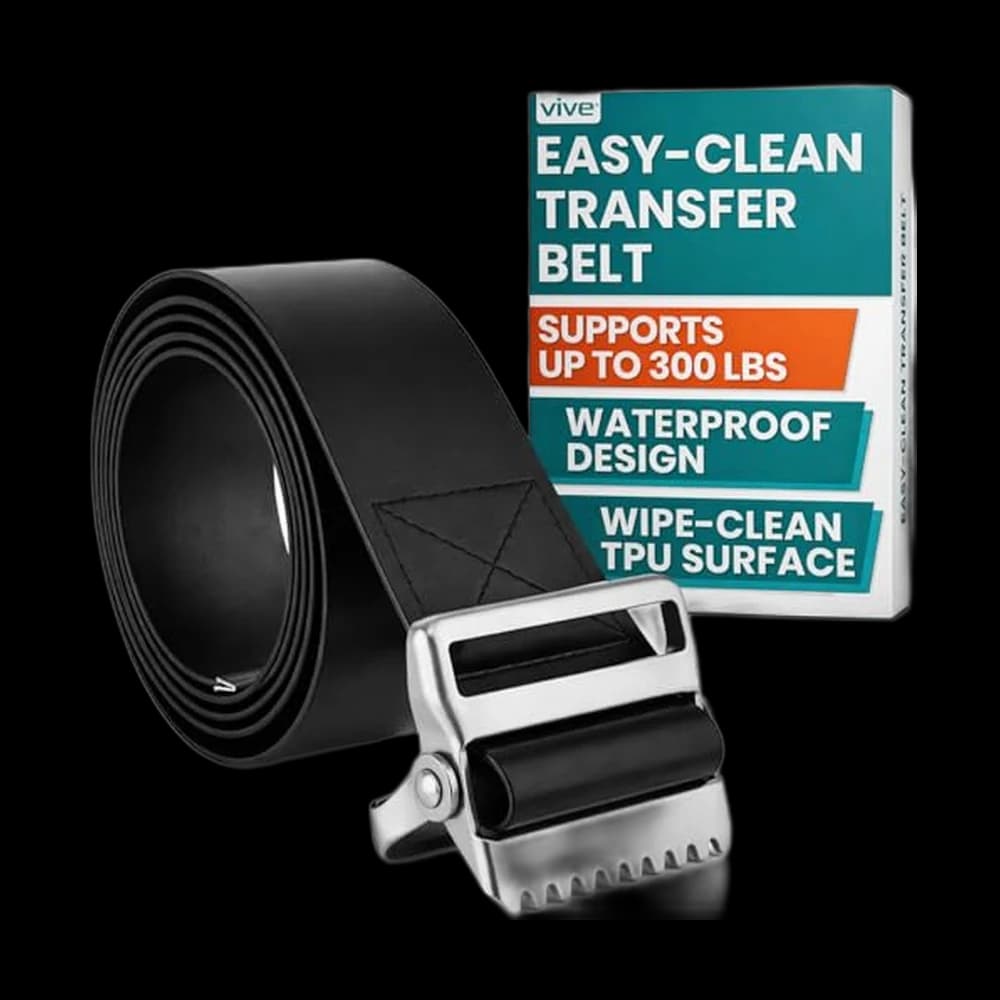
| Smooth wipe-clean surface | Your setting permits this material and cleaning method | Vive Waterproof Gait Belt |
| Length and usable fit | Enough webbing must remain to fasten the specified buckle | Compare the exact size, not just the brand |
| Quick release | The specified closure differs from a conventional buckle | Both Vive models |
COW&COW Metal Buckle Gait Belt — plain-belt starting point
Check price on Amazon →See the COW&COW Metal Buckle Gait Belt in our catalog. The linked variant is a 60-inch, 2-inch-wide cotton belt with a nickel-chrome-plated steel buckle. Its listing specifies machine washing and hanging to dry. It is the straightforward choice when your CNA clinical supplies list calls for this format. Other lengths are separate selections, not extra length included in this purchase.
NYOrtho Metal Buckle Gait Belt — another traditional option
Check price on Amazon →See the NYOrtho Metal Buckle Gait Belt in our catalog. The linked natural-color variant is also 60 inches long and 2 inches wide. NYOrtho states it is latex-free and specifies lukewarm machine washing and low-temperature drying. Choose it for those documented requirements, not because a different cotton brand automatically changes transfer technique.
Vive Gait Belt with Handles — for a specified handled belt
Check price on Amazon →See the Vive Gait Belt with Handles in our catalog. The exact listing describes seven padded handles, a 4-inch width and a waist fit up to 51 inches. That fit ceiling matters more than the generous-looking overall shape. Check course requirements before substituting it for a plain belt.
Vive Waterproof Gait Belt — for an approved cleaning workflow
Check price on Amazon →See the Vive Waterproof Gait Belt in our catalog. The linked TPU belt has a 2-inch width, a stated fit up to 60 inches and a quick-release metal buckle. Vive's Easy-Clean product page describes cleaning with disinfectant wipes. Use your facility's approved process and the supplied instructions; wipeable does not mean sterile. Its elastic loop holds excess webbing, not a caregiver's hand.
Before ordering: Confirm the required buckle, usable fit and cleaning method. Belt length and maximum waist fit are different measurements. Bring the actual belt to skills lab for instruction before patient use.
Common questions
Is a gait belt the same as a transfer belt?
How tight should a gait belt be?
Should the buckle always be at the front?
Can a gait belt with handles replace a mechanical lift?
Research Sources
- Gait belts 101: A tool for patient and nurse safety — American Nurse
- Applying a Gait Belt — Iowa Department of Education
- Ergonomics Guidelines for Nursing Homes — OSHA
- When Is It Safe to Manually Lift a Patient? — Thomas Waters, 2007, CDC/NIOSH PDF
- Gait Belts Instructions for Use — DeRoyal, revised May 2023
- Easy-Clean Transfer Belt — Vive Health